|
| Photo: Alcove |
If you like English toffee, you'll love a Heath Bar Cake! This one begins with flour and leavening agent, not a box of cake mix, but it’s as easy to make as emptying a box of cake mix. This cake, made from scratch, is simple, moist and fluffy.
Heath Bar Cake
Ingredients:

4 ounces butter
 3) Sprinkle 1 cup of heath candy bits (or the crushed health bars) evenly over the batter. Save the rest for garnish.
4 ounces butter
2 cups dark brown sugar
2 1/2 cups all-purpose flour
1 teaspoon baking soda
¼ teaspoon salt
1 teaspoon of vanilla extract
2 1/2 cups all-purpose flour
1 teaspoon baking soda
¼ teaspoon salt
1 teaspoon of vanilla extract
2 eggs
1 cup of buttermilk
½ cup of nuts, chopped (I use walnuts or pecans.)
Either an 8 ounce bag of Heath candy bar bits or you could crush 6 - 8 health bars to get 1 1/3 cups.
1 cup of buttermilk
½ cup of nuts, chopped (I use walnuts or pecans.)
Either an 8 ounce bag of Heath candy bar bits or you could crush 6 - 8 health bars to get 1 1/3 cups.
Directions:
1) Using a fork, mix the first 9 ingredients together in the listed order.
2) Spread the batter in a buttered 9’’ by 13'' cake pan, or I prefer using 2 buttered 9" round cake pans to stack them.
4) Bake in a preheated 350 degree oven for 30 minutes, until the center is done.
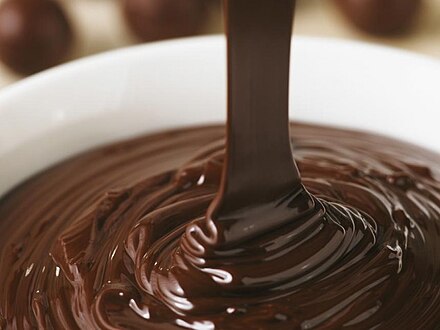
If you use crushed chocolate heath bars into the batter, icing the cake may be too much of a good thing -- unless you savor rich and very sweet cake, but if you use the bag of English toffee bits, you could melt chocolate chips on top of the cake for a ganache topping, then garnish the top and sides with the remaining toffee bits. Enjoy!🎂🎈🎉🍫
You may also enjoy: